javax.servlet.jar. [You can select more than one library
at a time by holding down the CTRL button when clicking on the library file names]
Click 'Open' when you are done.
Adding libraries/JAR files to your Eclipse project
Eclipse is great when it comes to validating and checking your Java code, but if it does not find the class files for the objects you are using, it will mark objects of those types as errors. This is because Eclipse requires that you explicitly tell it which libraries you are using in your projects. Below is an outline of the simple process of adding libraries to your current project. After setting up a new project do this:
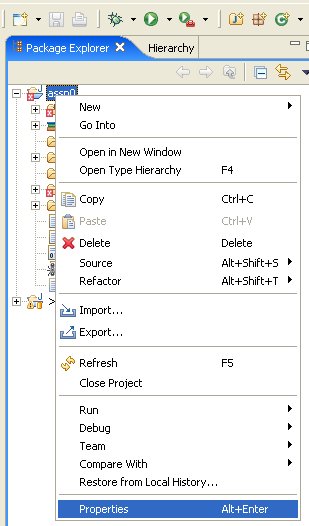
| Right-click your project's name and select 'Properties' from the context menu |
|
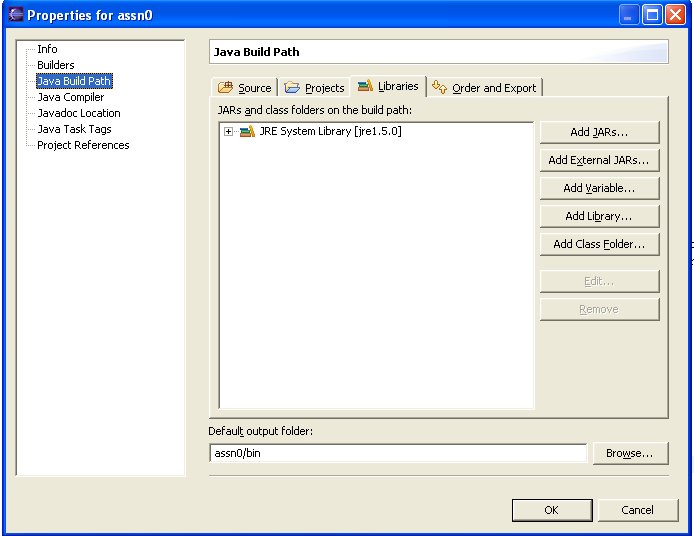
| From the window that pops up, select 'Java Build Path' in the left pane |
|
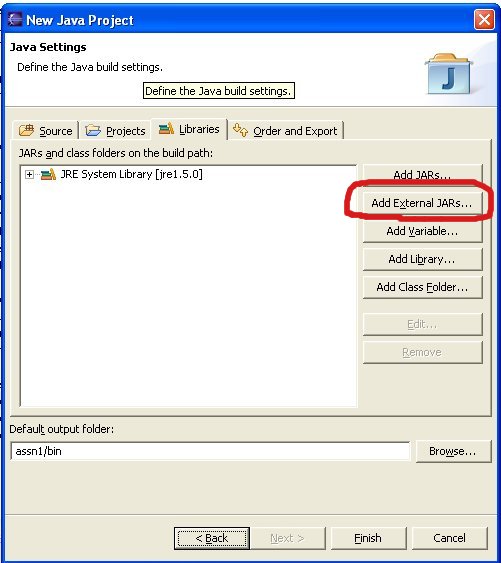
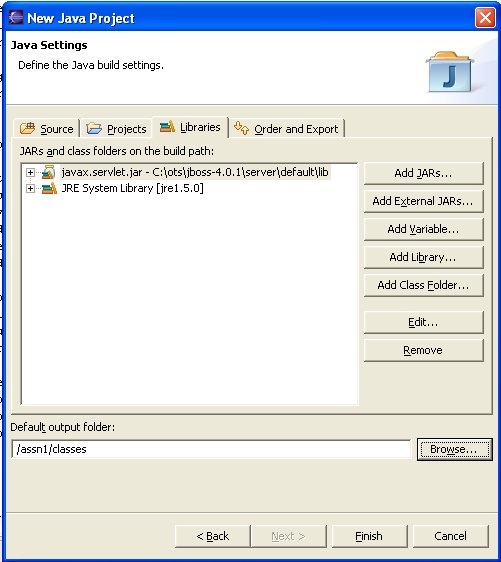
| Click the 'Add External JARs Button' |
|
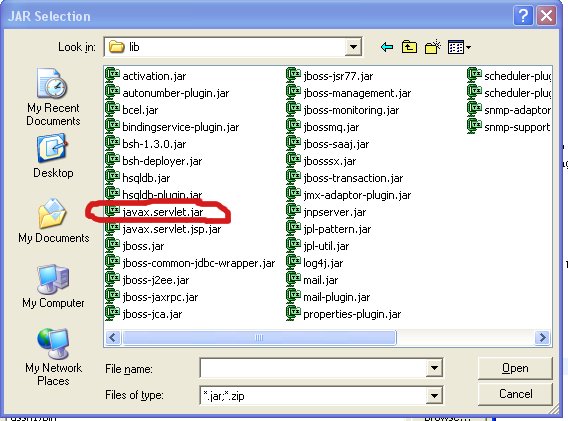
Use the window that will pop up to reach the folder in which the JAR library file is
located. For example javax.servlet.jar. [You can select more than one library
at a time by holding down the CTRL button when clicking on the library file names]
Click 'Open' when you are done. |
|
| The libraries are now related to your project and will be used to validate your code. |
|